Introduction
This guide will cover best practices for setting up movement challenges using the Admin Tool on the Vimocity web portal. This article includes:
- A background on the purpose of movement challenges
- Best practices for when to run movement challenges
- A step-by-step guide on how to set up movement challenges for your workgroup or company
Overview
Purpose of Movement Challenges
Movement challenges are an effective tool for engaging and motivating employees to create a habit of muscle and joint care. Keeping employees engaged in science-backed body maintenance ultimately leads to decreased pain levels and a reduced risk of injury, both on and off the job.
Plus, they create a lot of buzz across your organization! Vimocity provides a variety of ready-to-go challenge types that help you bring employees together, boost company culture and foster healthy competition beyond the workplace.
But don't take our word for it. Here's what Vimocity movement challenge participants say about their experience:
Best Practices for Movement Challenges
You can motivate your team to get moving at any point in time with Vimocity challenges! However, based on our years of experience working with companies like yours, we want to offer you a few best practices to maximize the impact:
-
Company-wide challenges (open; anyone can join):
-
- Run 1-2 times per year
- We recommend promoting across the organization to drive wide-scale engagement
-
-
Sub-group challenges (limited participants; invite-only):
-
- Run whenever a specific workgroup or location could benefit from a boost in engagement, including targeting groups with a higher risk of injury, during a busy season or newer groups/new hires to establish camaraderie.
-
Challenge Admin Tool Functionality
The Admin Tool empowers you to build flexible, custom challenges to engage your entire company or specific groups of employees. Below is the information required to gather for a challenge:
- Select the type of challenge
- Determine who is eligible
- Set the challenge start date and duration
- Choose a challenge name and prizes
- Send email invites to eligible participants
- Confirm winners and notify them
Admin Access
To access the Admin Tool, you’ll need admin privileges granted by your Vimocity Customer Success Manager and Company Administrator. Once granted access, follow these steps:
- Log into portal.vimocity.com
- Navigate to “Admin Center” > “Admin Challenges”
- Verify your identity via a code sent to your email inbox
- Once you have completed those steps, you now have access to the Challenge Admin Tool where you can see, search and edit all challenges past, present and future for your organization
| Note: If you don’t see the Admin Center menu item, please contact your Vimocity Customer Success Manager via email. If you are unaware of who is your company’s CSM, please email coach@vimocity.com with your request. |
Step 1: Select Challenge Type
Before creating a challenge, understand the different types available. There are two types of challenge options: Target Challenge or Team Target Challenge. Here's how they differ:
- Target Challenge: Individual participants complete Daily 5 movement sessions and can earn raffle entries towards a prize drawing at the end of the challenge.
- Team Target Challenge: Participants complete Daily 5 movement sessions that count towards their overall team score to unlock shared tiered prizes.
- Leaderboard Challenge: Participants earn points for their chosen team by completing individual Daily 5 sessions, sharing a prize if their team climbs to the top of the leaderboard.
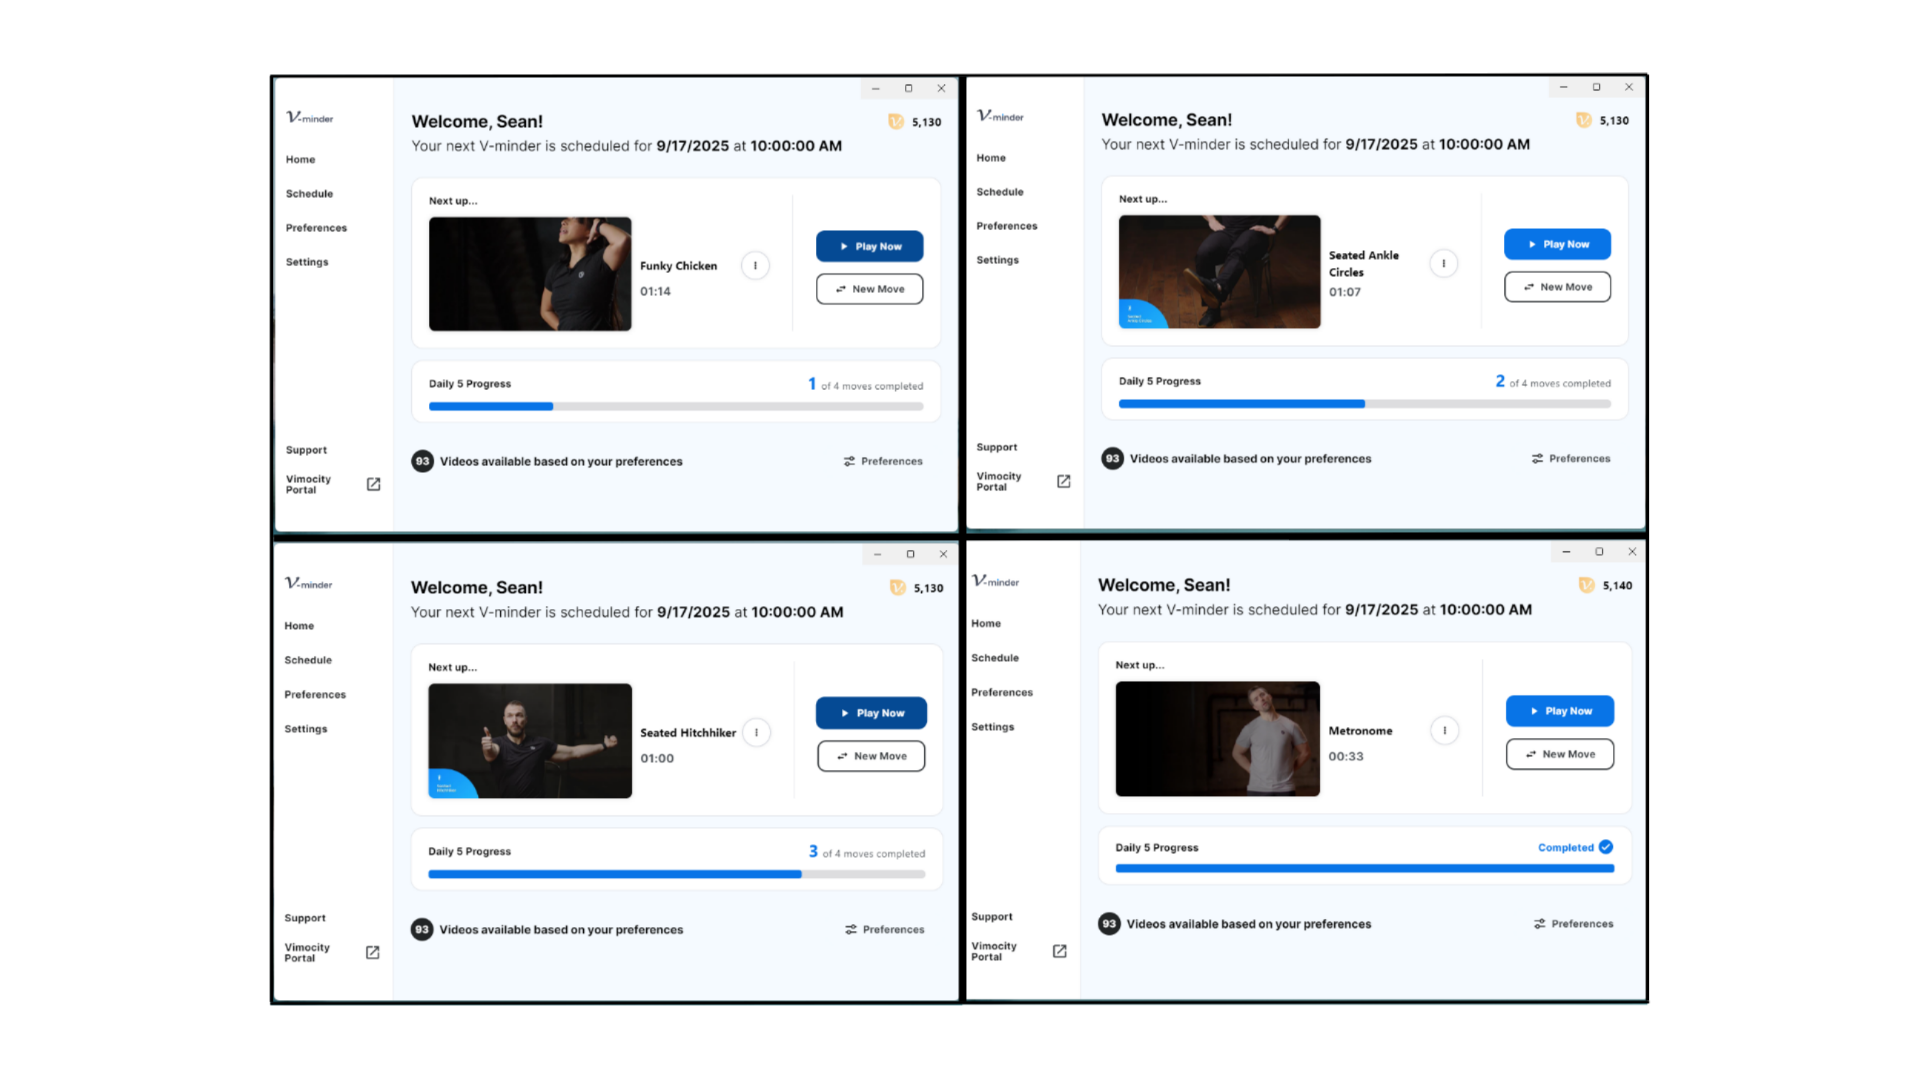
| Note: 4 V-minders = 1 Daily 5. V-minders can be completed and tracked toward challenge participation as long as users are on the latest version of the Vimocity app. See screenshots below for reference. |
 Step 2: Select Participants
When selecting participants for a specific challenge, consider the following options:
- Open: Anyone in your organization can participate. This is great for company-wide challenges that are large-scale and will be heavily promoted 1-2 times per year.
- Private: Only users invited or provided with an invitation link can join. Ideal for smaller groups within your organization. This can be beneficial for high-risk groups that need an extra boost of engagement, groups working overtime during busy seasons, specific groups needing a morale boost or to build camaraderie among new groups or new hires. If your organization uses SSO or Company Codes for account registration, prompt employees to create a Vimocity account before sharing the link provided in the Admin Tool to invite employees via email or other corporate communications.
Step 3: Details About Your Challenge
Provide details about the challenge:
-
Challenge Start Date: All challenges must start on a Monday. Select a Monday date that aligns best with your organization and goals.The start date cannot be edited after publishing.
- Challenge Duration: Choose from 7, 14, 21 or 28-day challenges. If you are setting up a Leaderboard Challenge, you must select a 21-day challenge.
- Challenge Name: Ensure the name is final as it cannot be edited once the challenge is published. We recommend naming challenges based on location, work group and/or company. For example: “Seattle Office - Target Challenge”.
- Minimum and Maximum Team Sizes: This applies only for the Leaderboard Challenge. Select your minimum team size and maximum team size that would best fit your challenge based on the work groups.
| Note: All Challenges end on a Sunday. Make sure when selecting your Challenge Duration, you are available the following Monday to select and confirm raffle winners. |
Step 4: Select Prizes
When selecting prizes for your chosen Target Challenge, consider the following:
- Target Raffle Prizes: Prizes can range from smaller items like water bottles to larger items such as Yeti Coolers. Non-tangible prizes like VIP parking or additional PTO are also great prize options. Offering a diverse range of prizes, both big and small, can enhance participant engagement and ensure everyone feels like they have a chance to win. You can select up to 9 raffle prizes and specify the name and quantity for each prize.
- Team Target Shared Prizes: Select how many tiers you’d like your challenge to have. A tier represents a collective goal based on the number of Daily 5 sessions participants complete together. You can choose between 1, 2 or 3 tiers. Selecting "1 (Gold)" means participants will strive to achieve a single Daily 5 target while selecting "3 (Gold/Silver/Bronze)" will offer an easy, moderate and challenging Daily 5 target.
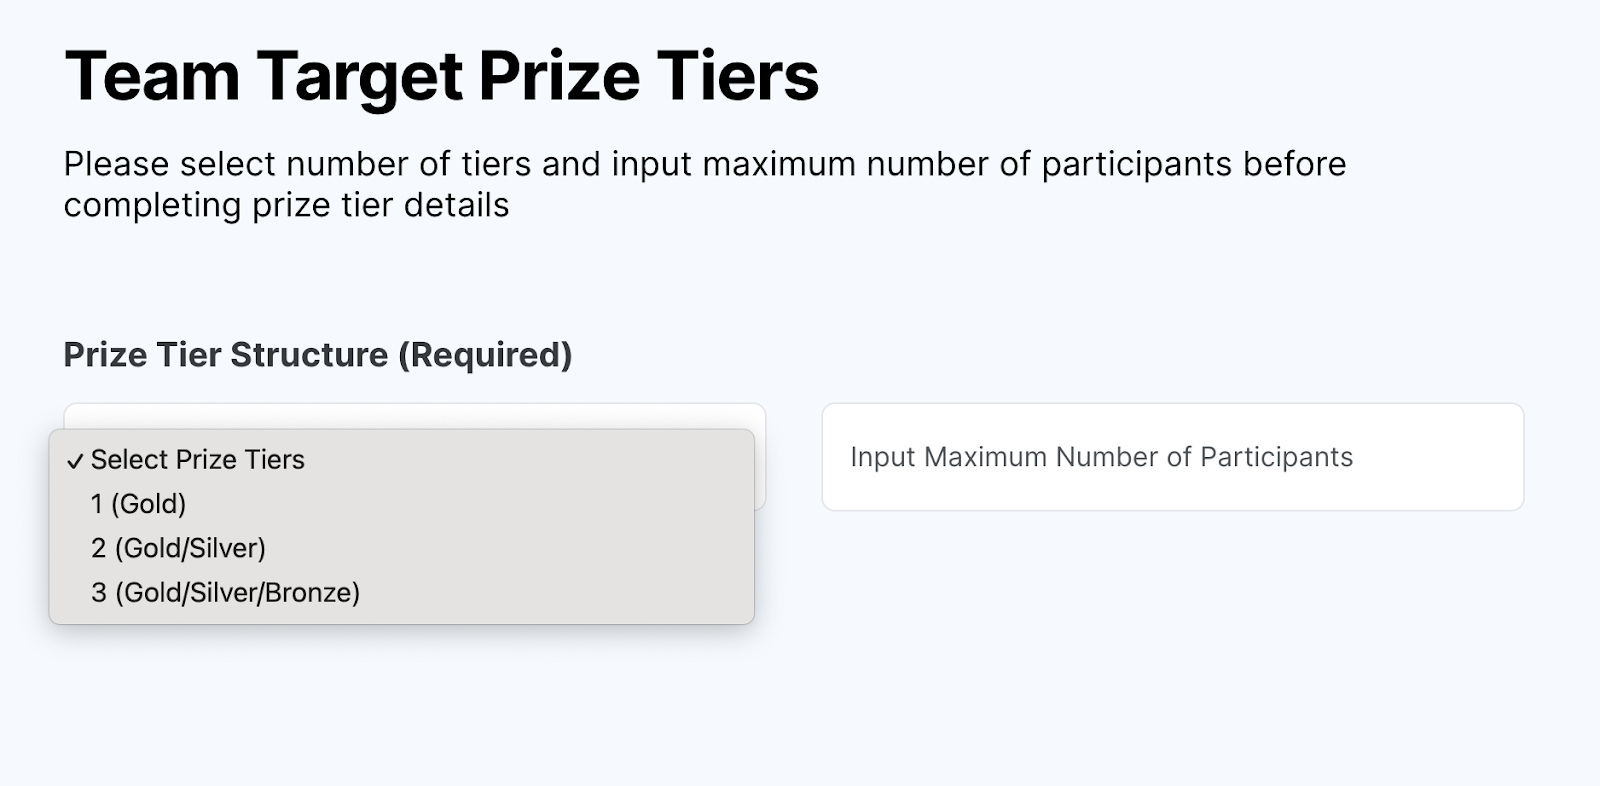
Once you’ve determined the number of tiers, you’ll be prompted to select a prize and confirm a Daily 5 session threshold for each tier (NOTE: only the highest tier prize achieved will be awarded to the participants). Vimocity provides a recommended Daily 5 count for each tier based on the challenge duration and number of eligible participants. You can choose to use the suggested number or adjust it to tailor the challenge difficulty level.
When selecting Team Target and Leaderboard Challenge prizes, keep in mind that the prize will be awarded to all participants on the team. Consider offering experiences or intangible benefits such as a team lunch, communicable benefits for the work location or an extended 15-minute break.
|
Note: Remember only the prize for the highest tier reached is awarded in the Team Target Challenge. |
Step 5: Review and Create Your Challenge
After inputting all the necessary information, carefully review your challenge details. Be sure to review the "Duration" of the challenge before continuing and the "Challenge Start Date", since these fields cannot be changed once the challenge is created. For Team Target Challenges, you cannot change the "Challenge Visibility (i.e. Open or Private) once the challenge is created. Once you are satisfied, proceed to create your challenge.
Step 6: Select Participants (if Needed) & Publish Challenge
Now that your challenge is created, it is time to select participants. Depending on what type of challenge you are creating, there are different steps to invite participants.
Adding Participants
For Open Target Challenges, you do not need to select participants. Everyone in your organization will receive an invitation to join the challenge by email upon publishing the challenge.
For Private Target Challenges, Team Target Challenges, under “Admin Tasks” you will see a prompt to “Add Participants”.
Click that button and a pop-up screen will appear with a list of individuals in your organization who can be invited to this challenge. Select all applicable participants.
| Note: Make sure the amount of participants you select to invite does not exceed the number of max participants displayed in the upper right-hand corner. |
Before Publishing Your Challenge
Target Challenge:
Before publishing, you have the ability to adjust the following for the Target Challenge:
- Name
- Start Date
- Prize Name and Quantity
- Add/Remove Prizes
After publishing, your Target Challenge, you have the flexibility to adjust the following:
- Prize Name and Quantity
- Add/Remove Prizes
Team Target Challenge:
Before publishing, you have the ability to adjust the following for the Team Target Challenge:
- Name
- Start Date
- Max Participants
- Number of Prize Tiers
- Tier Prizes
- Tier Target Amount
After publishing, you have the flexibility to adjust the following for the Team Target Challenge:
- Max participants
- Tier Prizes
- Tier Target Amount
Leaderboard Challenge:
Before publishing, you have the ability to adjust the following for the Leaderboard Challenge:
- Name
- Start Date
- Min and Max Participants
- Prize Name
After publishing, you have the flexibility to adjust the following for the Leaderboard:
- Min and Max participants
- Prize Name
Publishing the challenge is an important step, as the challenge must be published for invites to be sent out and for users to be able to view and join. Make sure you have selected all your participants before publishing the challenge to ensure all invites can go out simultaneously. Ideally, a challenge should not be published more than 30 days prior to the challenge start date to maintain engagement and momentum.
Once you are ready, select “Publish Challenge” under the “Admin Tasks” and then your challenge will be sent to participants.
| Note: You must publish your challenge at least 1 day before the start date to ensure invite emails are automatically sent out. |
Step 7: Challenge Communications
You’ll be able to easily send email invites to eligible participants once your challenge is live. It is encouraged to notify employees to join the challenge before the start date. Use provided email templates for Target, Team Target Challenges and Leaderboard Challenges.
Step 8: Challenge Completed
Once the challenge concludes it’s time to determine and announce the winners:
For Target Challenges: Access the "Admin Tasks" section to draw raffle winners the Monday after the challenge ends. You can either approve or redraw your winner(s) and then click “Publish”. Email templates to notify winners can be found here.
For Team Target Challenges: Use the "Admin Tasks" section to identify the achieved tier level and notify winners the Monday after the challenge ends. You can access email templates here.
For Leaderboard Challenges: Use the "Admin Tasks" section to identify the winning team and notify winners the Monday after the challenge ends.
Related to